So….I’m no good at nymphing. Plain and simple. I’ve almost never even gotten a hit while nymphing. As a result, I have let myself neglect the tying of nymphs, as kind of a way of buffering myself from the jeering I receive from the fish, when I try. “Not my nymph…not my fault.”
The fish don’t buy it, either….
I am preparing for an upcoming trip that will put me on some excellent waters in the Bristol, VA area. Looking forward to finally fly fishing with KK! As part of this, and on his advice, I tied 8 of these, to bring with me, as nymphs / dry-dropper rigs do well on those waters.
Basic materials –
- Hooks – 3xL, Natural Bend, nymph hooks. KK recommended 2xL, but I just couldn’t find any, locally. Using #16 and #18 for these (2 in Brown and 2 in Olive, in each size)
- Thread – 140 Denier Olive
- Wire – X-SM Copper wire
- Body and Tails – Pheasant Tail feather fibers.
Yes, that really is it.
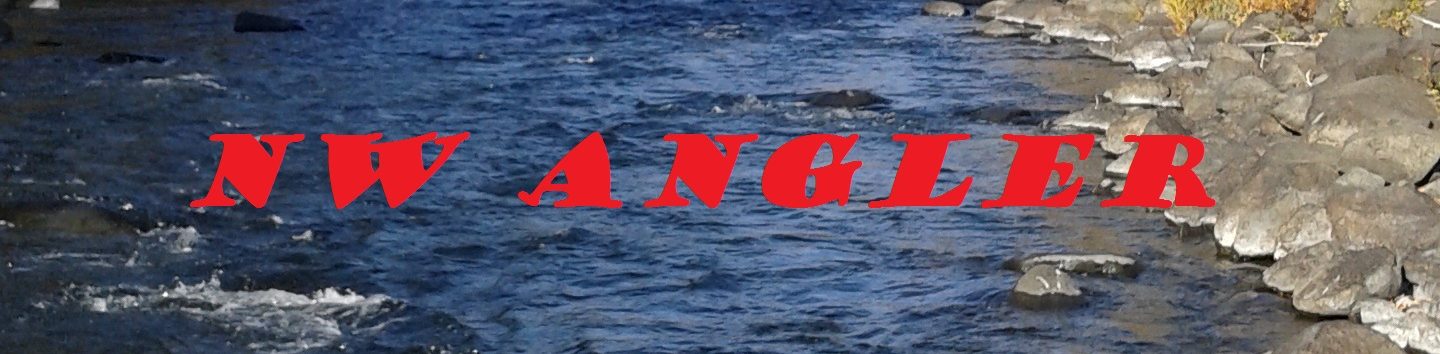
Start by crimping down the barbs on all hooks, then pick which size to begin with and set the first one in the vise.
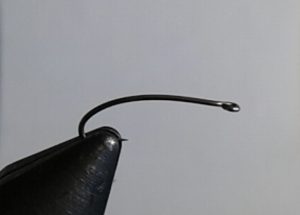
Begin wrapping the thread just a bit behind the eye. Some websites suggest up to 1/4 back form the eye, but I like having a tight and relatively even thread layer, as (for me, at least) it help prevent thread/fibers from sliding towards the eye, later. Wrap back to about halfway down the shank.
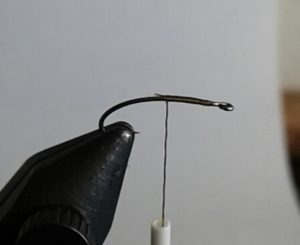
At this point, clip the tag and tie in roughly a 2.5-3″ piece of the wire. Wrap back over the wire, until you are directly above where the bard was.
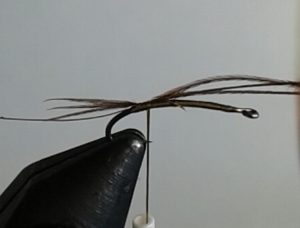
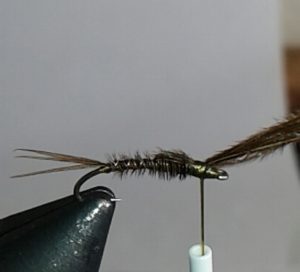
I usually put a small hump of thread, perhaps two turns, at the very back end, to help flair the tails on flies. Not sure that it makes any difference on the water, but I just like the look. Even up and strip off three pheasant tail fibers, and tie them in with tips facing back, and roughly 1 hook gape in length beyond the bend of the hook.
At this point, many videos and websites recommend wrapping the forward facing fibers towards the eye, with the thread hanging below and progressively being pushed ahead of each turn. My preference, perhaps because my fingers were feeling clumsy, today, was to tightly wrap forward, throw in a half-hitch, and drape the thread over the bobbin rest.
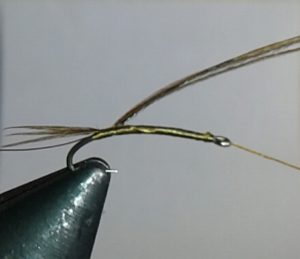
At this point, gently but firmly grasp the forward facing ends, and rotate the fly as you wrap the fibers around the shank. Go back, for a couple of turns, to layer the fibers to the end of the thread base, by the tails, the forward to roughly 1/4 of the way behind the eye.
When you get there, three tight wraps with the thread, to lock the fibers down, then snap or cut them off (snapping is closer, but may require extra wraps right in front of them, then over them, to strengthen the hold).

I then re-anchor the thread (half-hitch) and drape over the bobbin rest. Grasp the wire, and counter-wrap over the feather fibers, until you get to the same tie-down point.
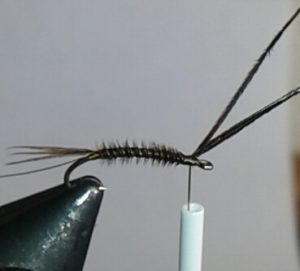
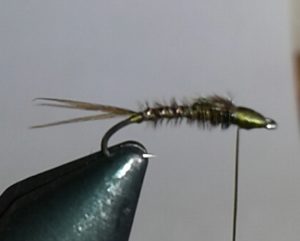
Return to the pheasant tail feather, line up and strip off 12 more fibers. Some references suggest fewer than this, but I like the look with a bit more bulk. Once removed, trim off the curly end that was attached to the stem of the feather, realign the fibers so they all lay flat, then gather them back up and trip off the first 1/2″ of the tips, keeping the cut perpendicular to the fibers. With those in hand, tie in the tip end, with a pinch wrap, so the forward-most end is right on your existing wrappings. Once anchored down, wrap back to halfway down the shank, then back to your wrapping point.
At this point, re-anchor the thread, prepare for rotary motion, and grasp 4 fibers from the extended group. Wrap them forward, fairly tightly and close together, to create some bulk on the fly.

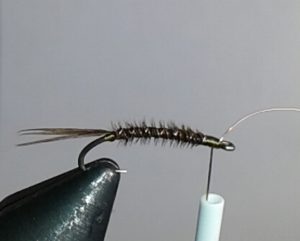
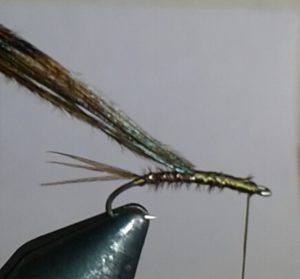
At that stopping point, 3-4 tight wraps, then cut or snap the ends off. When this is complete, grasp the remaining fibers that are pointing past the bend, and bring the forward, over the fiber wraps you just made, to form the wing case over them. As before, tie them in at the same point.
Tight wraps, cut or snap, whip finish, then a smear of head cement over both the wing case and the threads, to anchor it all down.
The thread mass ended up bigger than I expected, on this one, but still looks fairly “buggy” to me….not that I’m a fish therapist. We shall see. Either I break my pattern on this, or it’s down to just “my flies” or “my nymphing.”
Tight lines!
That dog will hunt!