After checking in my fly boxes, I found that a couple more #12 and #10 certainly could not hurt. My pattern calls for the following:
- Hook – I use Hopper 2xL
- Thread – 210 Fluorescent Fire Orange
- Body – Antron dubbing, from the dispenser pack marked “Antron Dubbing Blends”. For this, the “Ginger Variant.”
- Wire – Small Amber wire
- Tail and Wing – Select Cow Elk hair, in Orange
- Hackles – All Grizzly patterns – for the head end, the standard size for the hook. For the body palmering, one size smaller. I use Burnt Orange for this fly pattern.
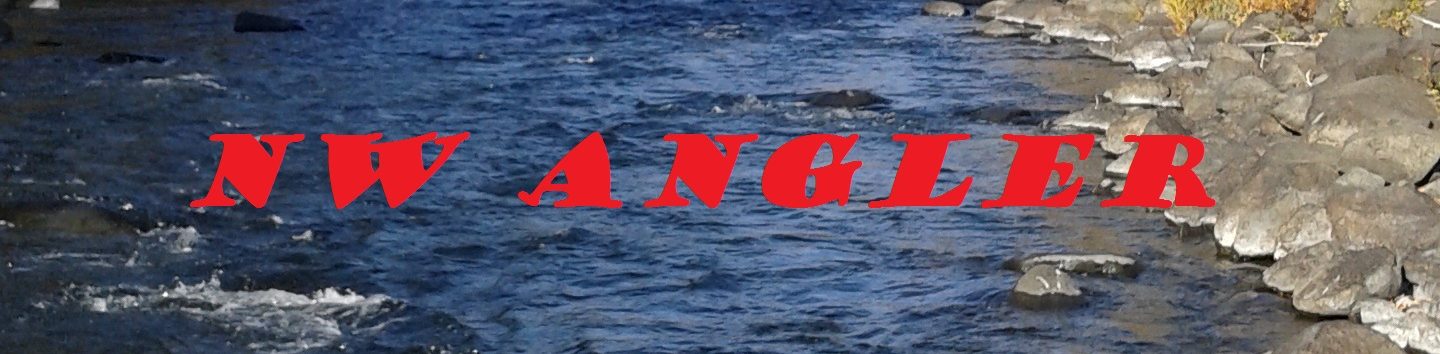
Start out with the hook level set, so use of the rotary feature does not cause too much variance from the center line, in rotation.
Once in place, start the thread wrap 1/4 back from the eye, and move towards the bend. I usually go to about even with the back end of where the barb once was (I crush mine).
Once you get to this stage, cut a bundle of the hair, roughly 2/3 the gape of the hook, in diameter. Tie this in with tips facing back, and extending roughly the same length as the tip of the point to the eye of the hook.
Wrap forward, initially not applying too much pressure. The hair along the hook shank will provide additional buoyancy, it seems, so don’t crush it down too much.
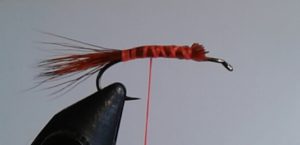
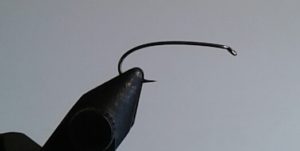
Tie in one end of a medium length of the Amber wire, so the main length of it faces off the back.
Wind forward to about 1/4 back from the eye, tying in the body hackle as you go. Remember, this one is one size smaller than what the hook size usually calls for. Trim the ends that might protrude from the wrapping (which I clearly did not do, before the picture).
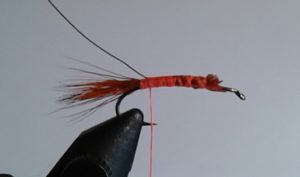
Wrap very widely towards the back, to prepare for dubbing the body. In the last two I tied, today, I added the hackle after the loose wraps on the tail hairs, adding the wire as I wrapped towards the bend. This minimized the thread bulk, and I will carry that forward to future flies. Once you are wrapped back to just forward of the tail, lightly dub the thread, and work forward to the tie-in point of the hackle.
From here, I throw on a quick half-hitch to lock my thread in place, just in front of the hackle, hang the bobbin in the rest, then take the end of the hackle and begin rotating the vise away from me as I palmer the hackle towards the bend, stopping just at where the tag of the thread extends.
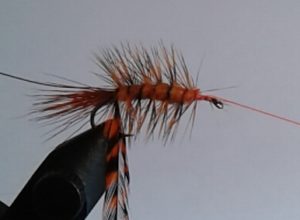
With the hackle still under tension, grasp the wire and wrap if forward, pinning the hackle to the body. After one turn, release the end of the hackle, and rotate the vise to wrap the wire towards the eye, anchoring the hackle along the body by crossing over it.
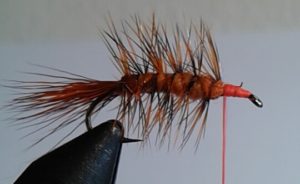
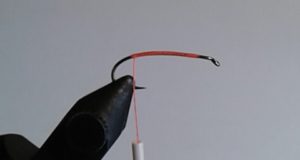
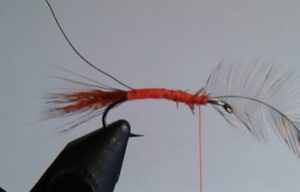
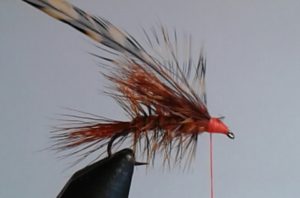
When you reach the point where you had started backwards with the hackle, wrap the end of the wire down with thread, then cut off both the remaining wife and the trailing portion of the hackle. I usually put a small drop of head cement on the point near the bend, where the hackle was cut and the wire wraps began forward. One the stray ends are cleaned up, cut another bundle of the hair, slightly larger than the tail.This wing material is tied on with pinch wraps, trying to keep it as close to the very front end of the wrapped body as possible. Try not to crowd the head at all, as you will be adding material in front of this!
After a couple of increasingly tight wraps, I often pull back on a third of the protruding ends (the base ends, towards the eye), and do one tight wrap. Then I split the remaining base ends, and do this, again. I find that this anchors the hair a little tighter, minimizing attempted rotation on the shank. Once done, cut all protruding base ends as close to the thread as possible, and add a couple of wraps to smooth out the nose, which should be slightly conical.
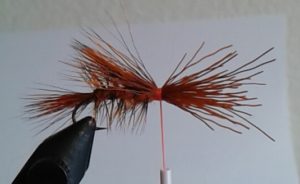
Tie in the end of the non-body hackle at this point, with the stem facing backwards.
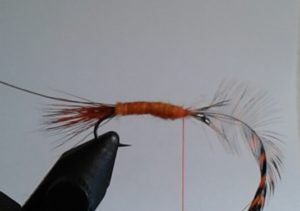
When this is locked in place, apply a small amount of dubbing and quickly wrap the conical nose area. Continue to be careful not to crowd the eye.
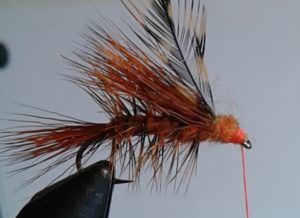
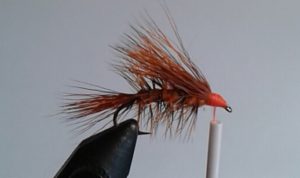
Grasp the hackle, and give it three wraps around the nose, moving slightly forward. Once that is completed, tie it down with the thread, then trim the end. You would whip-finish at this point, but I like to add a small thread nose, if I have left enough room. I think it may help with creating a Stonefly suggestion for the fish. Either way, final whips, a drop of head cement, and let it dry.
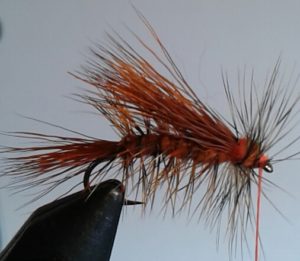
I have recently acquired one of the “permanent flotation products” for dry flies. I will be trying it on the 4 I just tied, once they are fully dried.
Great fly as a general attractor, a hopper imitation, or a stonefly. The burnt orange I use turns to mostly a dark brown in the water, but still leaves a hint of red.
Tight lines!