As I have said on several posts, the Parachute Adams is my main go-to fly, when fishing my home waters. I have a pretty good string of successes with it, and also find it fun and relatively quick to tie. As I lost one, on my most recent fishing trip, it was time to tie up a few more.
No. It’s not that I am low on supply. I have a couple in my box, for each of 3 or 4 sizes, depending on the coloration I might need. And…almost 20 more in my restock box, for when those get lost. It is more of a tradition for me. When I lose one, I tie a few to replace it. Today, it was two each, in #12 and #14.
- Basic dry fly hooks, or 1xFine, if you would like.
- Dry Fly Hackle Feathers, for the “wing.” I like to use a rusty orange grizzly pattern for this, sized to match the hooks.
- Stiff hackle feathers for the tail. I did not have any burnt or rusty orange, but I had some pretty thick-fibered feathers from a grizzly “Bugger Pack” I could pull from.
- White Antron yarn for the parachute post
- Tan 8/0 Thread
- Amber “Super Fine Water Proof Dry Fly Dubbing.” I pulled from the kind that comes in a dispenser box with 11 other colors.
As I said, this is a relatively quick pattern to tie (when one is not pausing to take pictures), so I’m going to try something new. I am going to attempt to keep the description down to roughly the same time to read as the step actually takes. We shall see how this goes…
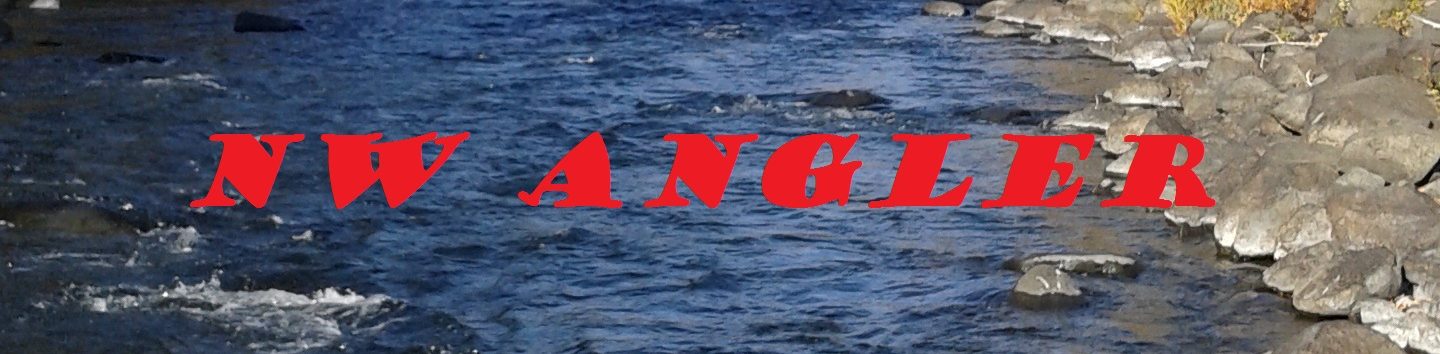
Fix the hook firmly into the vise.
Tie on the thread, 1/3 from the eye.

Wrap back to the beginning of the bend.
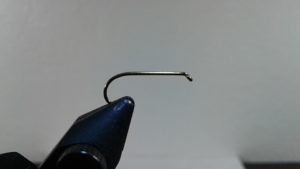
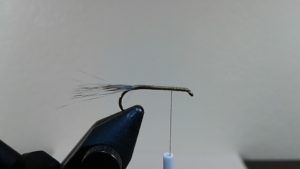
Evenly pull off stiff fibers from the over-sized feather and line up the tips…mostly.

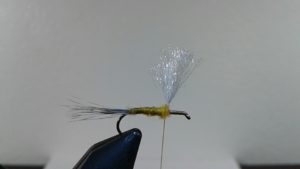
Tie them in at the top of the bend, tips facing backward.
Tightly tie the forward portion onto the hook, then wrap to the eye, then back 1/4 of the shank.
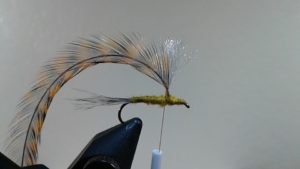
Cut a bit of the Antron yarn, perhaps 1.5 or 2 inches. Bend it over the thread, holding it tight with the other hand, then tie it in at this point, making sure the thread is pinned at the top of the shank wire.
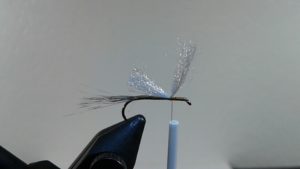
Holding the top of the yarn, wrap the thread around the hook on both sides, twice per side, leaning into the base of the yarn. After this, wrap up the yarn, perhaps 6 times, still holding the yarn by the tips. You want these wraps to be tight, but the yarn will snap to the side if you are not holding it tightly, and unravel your wraps.
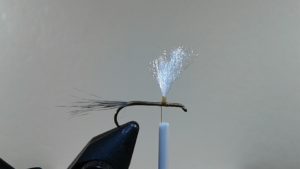
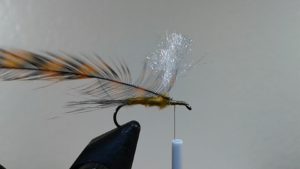
Now, wrap back to the base of the tail.
Tightly apply dubbing to the thread, in a way that allows for the initial warps, near the back, to be thinner. Subsequent wraps should thicken, as you move towards the back edge of the post.
Here, you trim the edges of the tip of the hackle feather, then tie the tip of it onto the forward portion of the hook.
When that is locked down, three wraps up the post, with the hackle pinned to the post, are performed, then a single wrap on top of the hackle tip and hook shank, to lock it all in place.
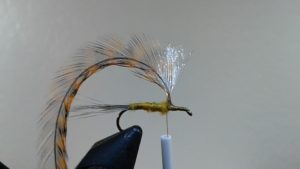
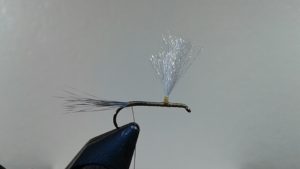
Press and twist a small amount of dubbing on the thread, this time thicker part to start, then rapidly thinner, and wrap forward.
Two quick wraps back to just behind the post.
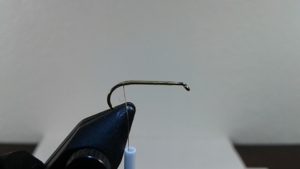
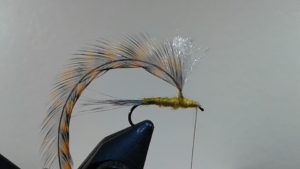
From here, grasp the hackle feather in your pliers or fingers, and perform six to eight turns with it, around the post. I try to start high on the post and wrap down, usually.
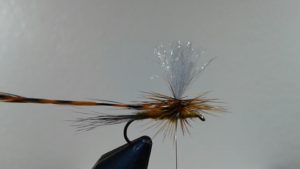
From here, lift the thread and perform three tight turns around the post, wiggling it up and down a bit, as you go. This seems to help reduce the pinning of hackle fibers under the thread. When that is done, whip finish in the same way, then trim the feather tag and thread.

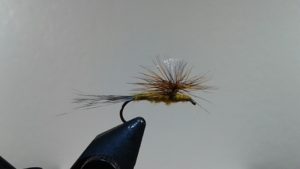
After that…a drop of head cement on the whip finish threads and one near the top of the stack of hackle wraps, on the post. I have never had a parachute post unravel on me…which might be due to me usually doing that second drop. Last step is a quick haircut on the Antron, and you are ready to dry it, dunk it (if you are using permanent waterproofing), and fish it!
Tight lines!