I know I’ve said it, before. I am no good at nymphing. Something about my early attempts being unsuccessful (new to it, go figure), leading to giving up on trying it (not practicing), which then perpetuates the lack of skill.
In other words… I’m no good at nymphing because I’ve just never given it a chance to develop in my skillset.
My bad.
This year, I’m taking the route of “if I tie nymphs, I’ll be more invested in trying that style of fishing.” Could work…maybe?
Let’s find out, shall we…
- #16 Nymph Hook (2xLong, 1xStrong)
- Veevus Black 8/0 Thread
- Veevus Gold Holo Tinsel
- .015 Lead-free (I don’t even own the lead kind!) wire
- Gold-tone 7/64″ tungsten bead
- Fluorescent blue peacock herl
- Lt. Cahill Biots
- Prince Nymph Brown Biots
- Medium Dun Partridge feathers. Yes, the standard form calls for Hen Hackle, but I really like how “leggy” the partridge gets, when wound.
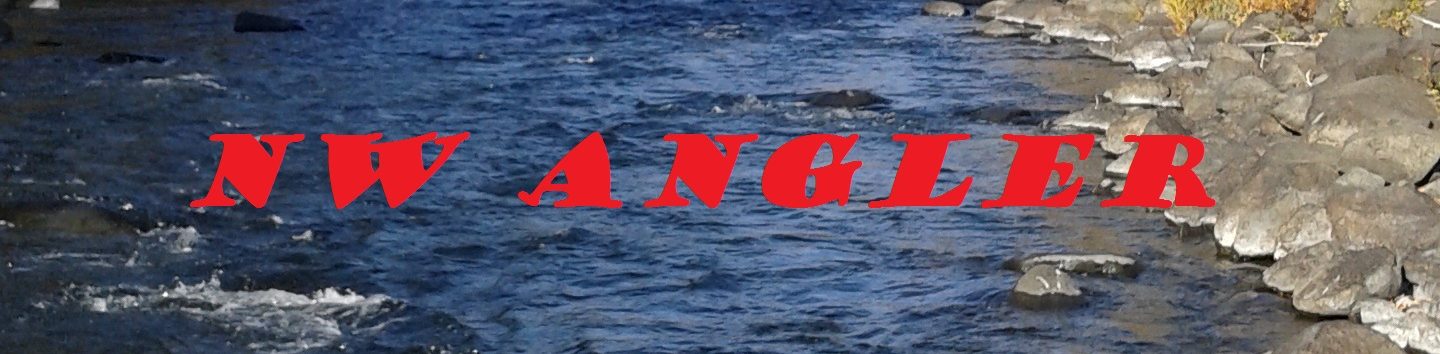
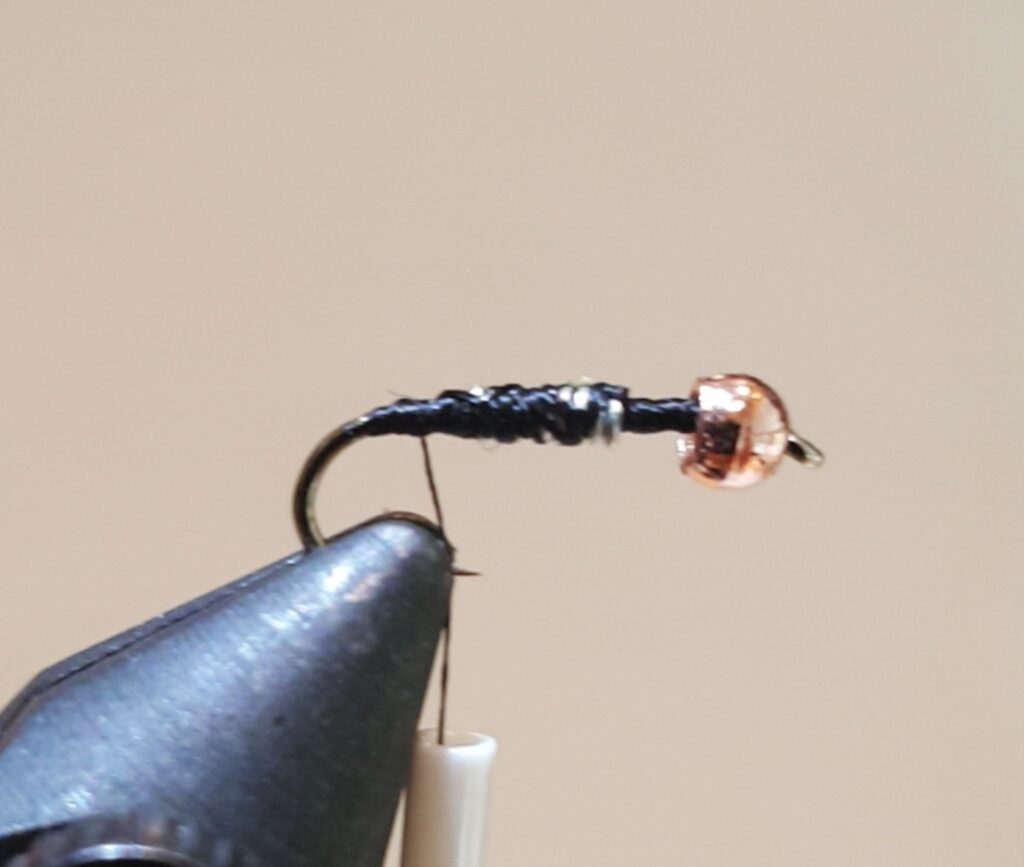
Barb crimped down, bead on hook, hook in vise, please.
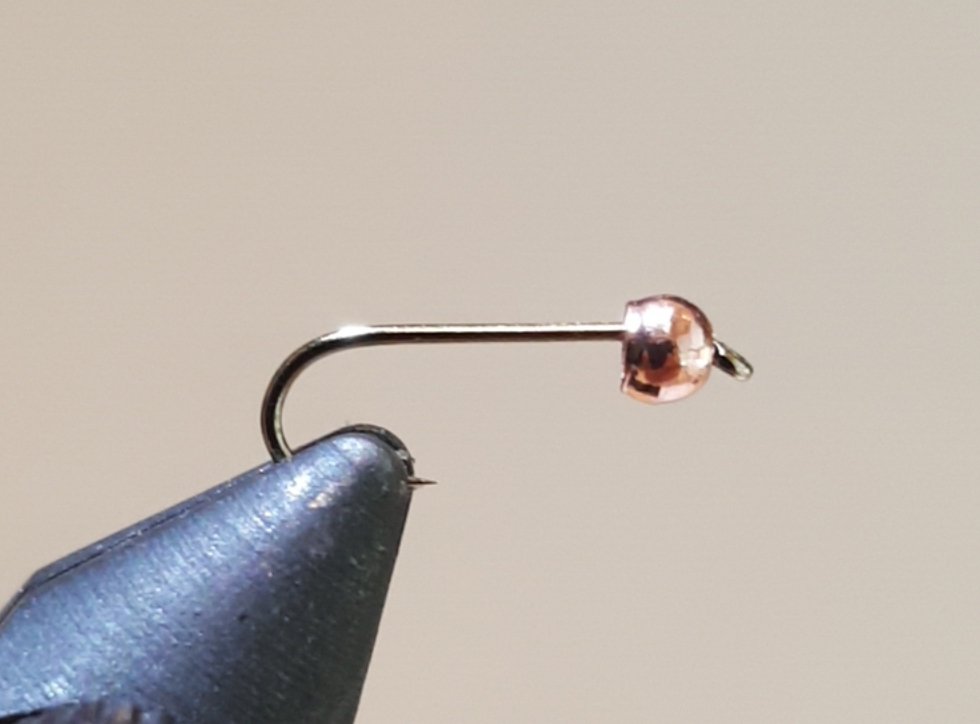
Wrap on the thread, behind the bead, and wrap to the back to form a foundation, then come back to just behind the bead and give it several more wraps to form a small dam to keep the bead in pladce.
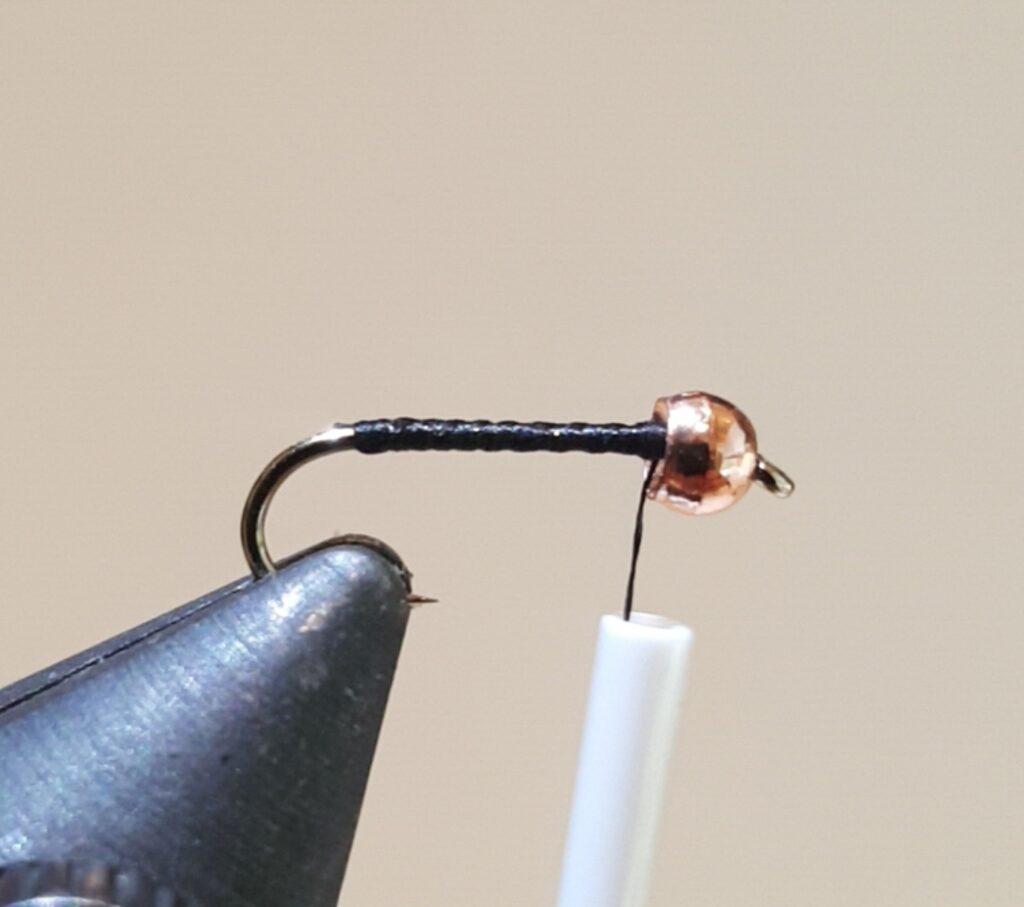
I fish some really choppy and quick places. Because of this, I used both the bead and a few wraps of lead-free wire. I want this dropping pretty quickly.
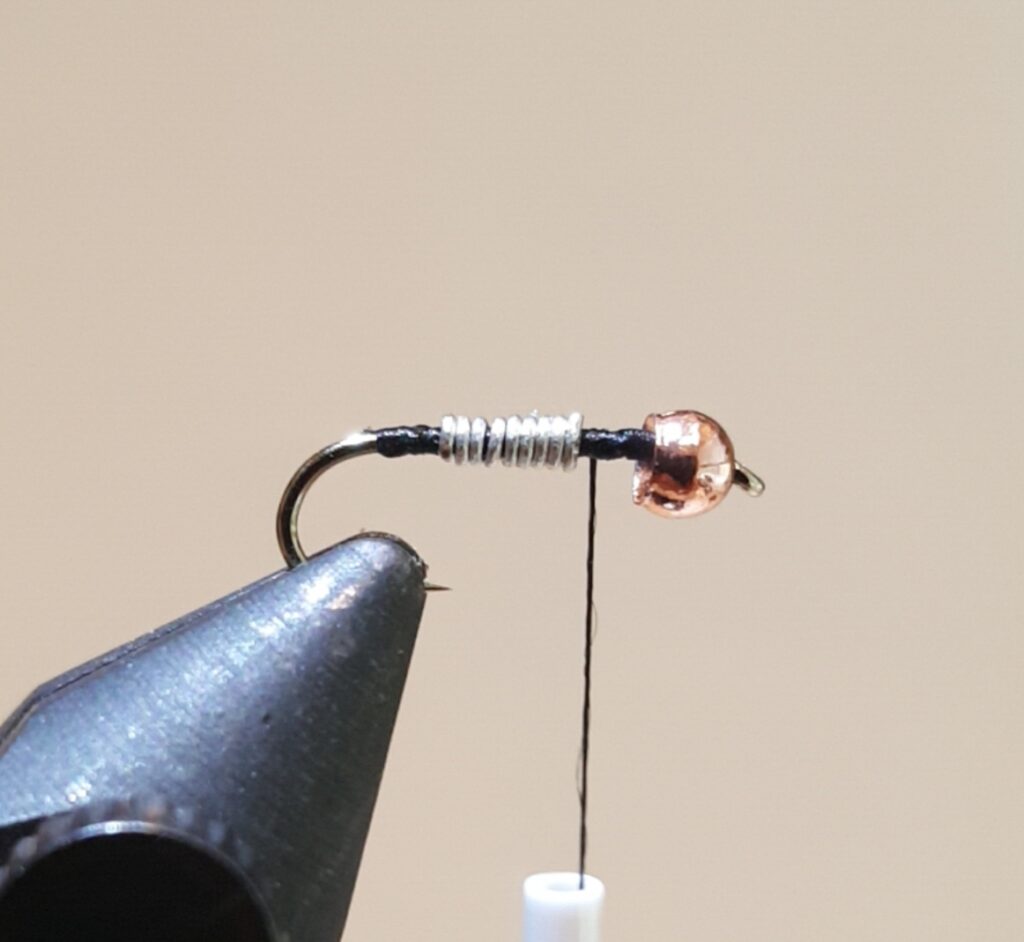
Wrap small dams at either end of the wire, and a random set of wraps on it, to really lock it in place.
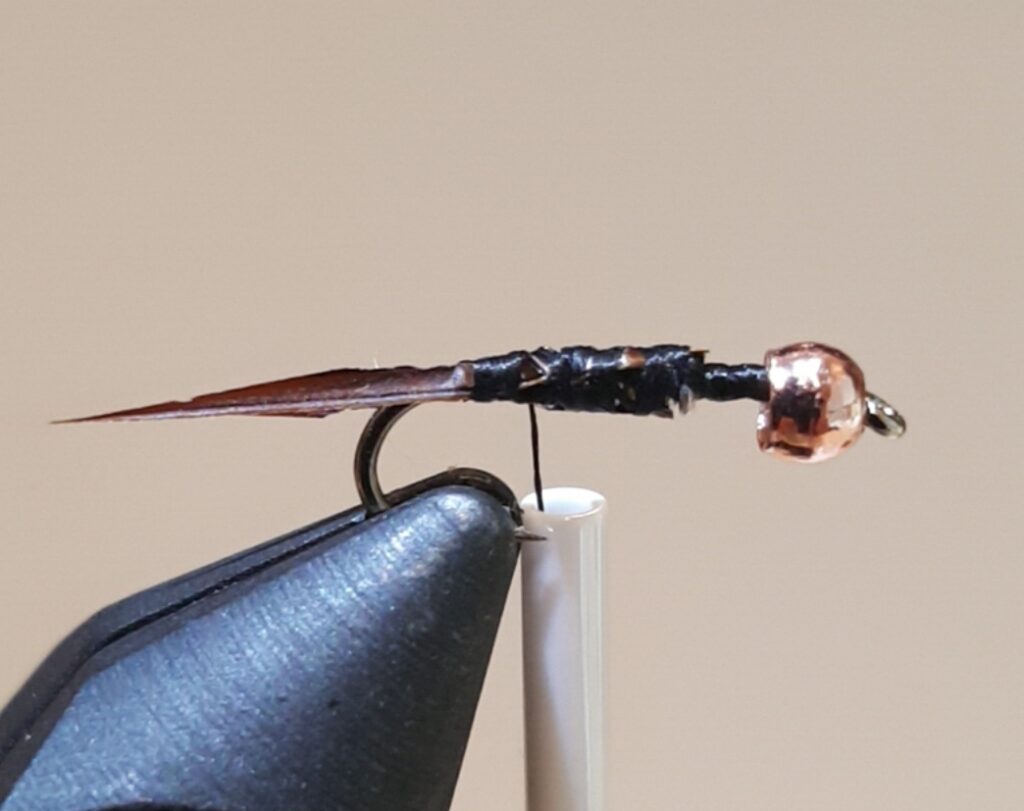
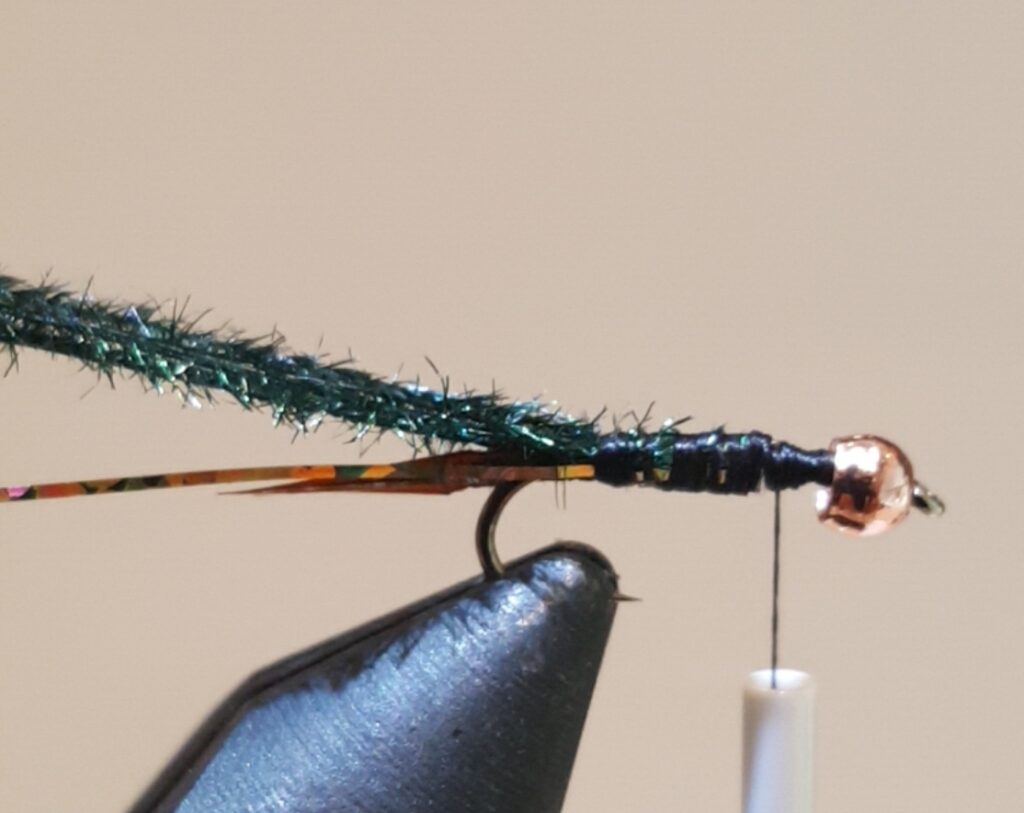
Next, trim off a pair of the brown biots, and line them up so they extend beyond the bend roughly the same distance as the bend to hook tip. Lock one in place on one side, wrap a couple of times, then the second on the opposite side, and wrap them both in place.
After this, anchor in the end of a shortish piece of the tinsel.
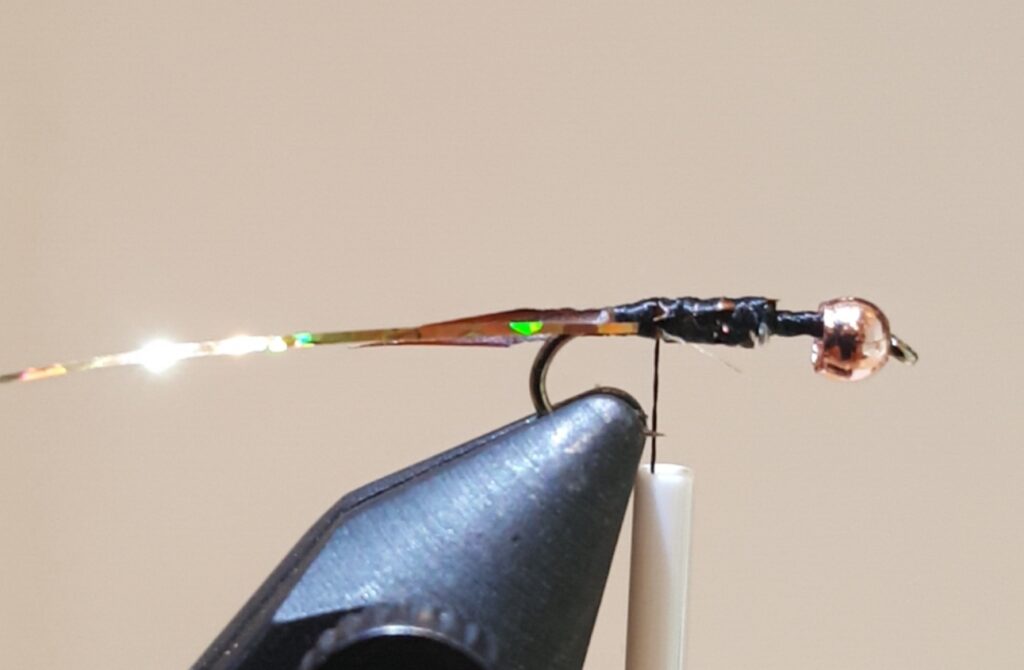
Then, pin down the tips of three strands of the peacock herl.
Wrap the thread forward, pinning everything in place and prepare to wrap the loose materials. I do the half-hitch, then use the rotary feature of my Renzetti, but however you are comfortable doing the wraps is up to personal style.
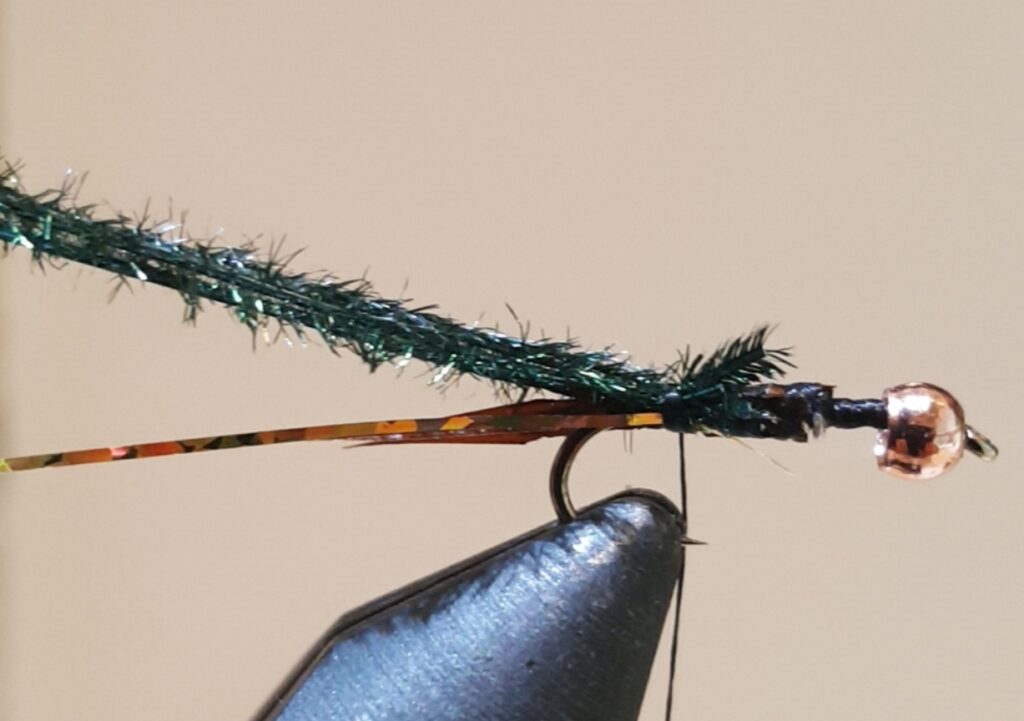
Wrap the herl forward in tight and closely aligned wraps.
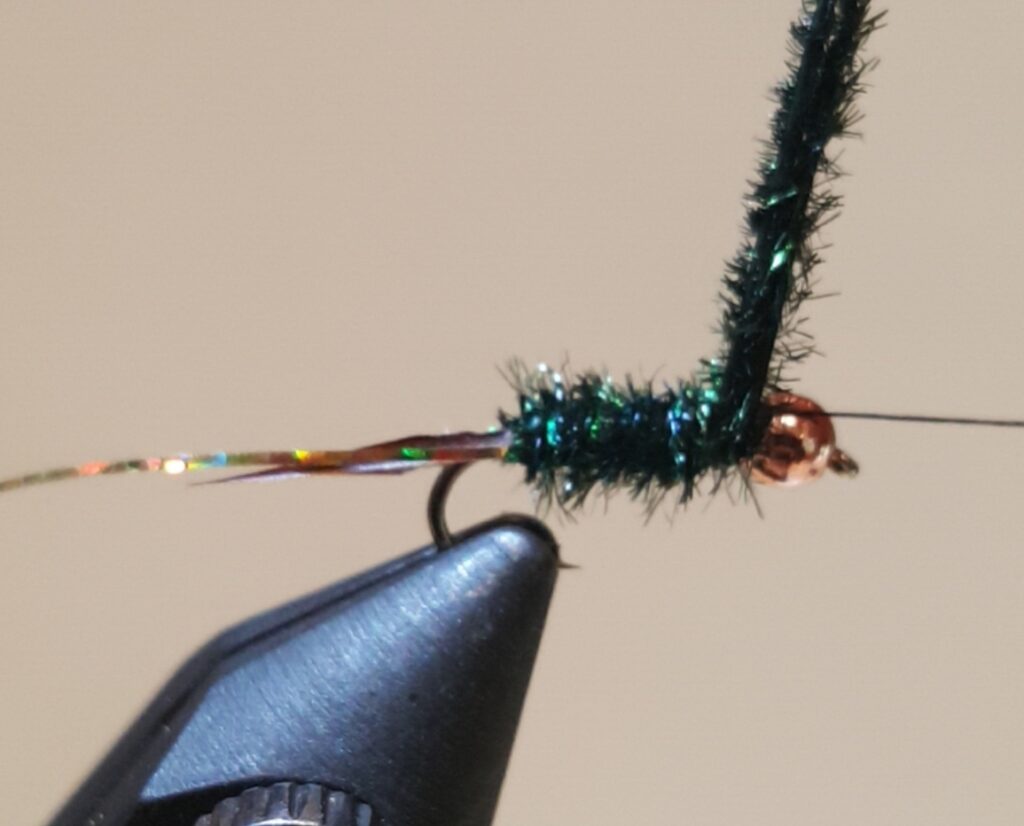
Anchor the ends, tightly. I have taken to doing two or three wraps with the material pulled forward, then pull towards the back and give it a couple more (so the core of the material makes a U-Turn around the first set of wraps), then trim it off, close.

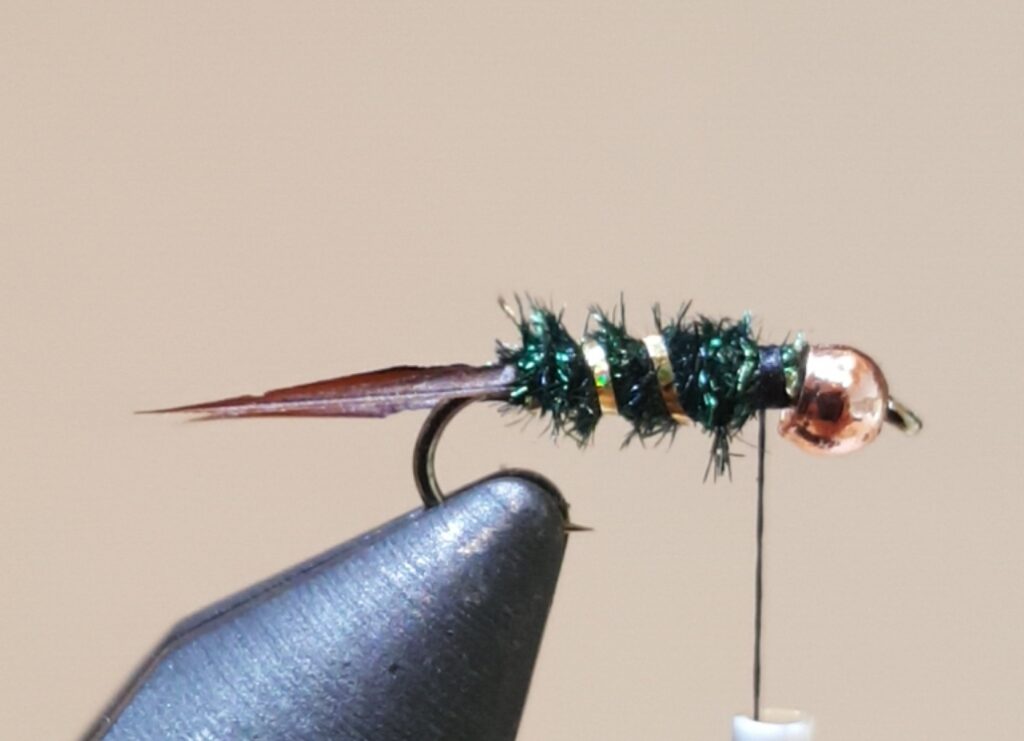
After this, wrap the tinsel forward. Some people like to wrap in the same direction as the herl, but I don’t think it makes a difference.
Next, take a Partridge feather that has individual fibers that are not too long (or be prepared to trim them), brush the fibers of the tip back towards the base, and trim the very tip so it has a small piece of the core exposed, and use that to tie it in behind the bead.
I also tend to strip away the downy fibers, close to the base end of these, to keep them from accidentally getting caught in the wrapping process that is about to start. Best to do this before tying it on, but just occurred to me to mention it.
Yes, it will look like a feather fiber explosion. No, you won’t be leaving it like that.
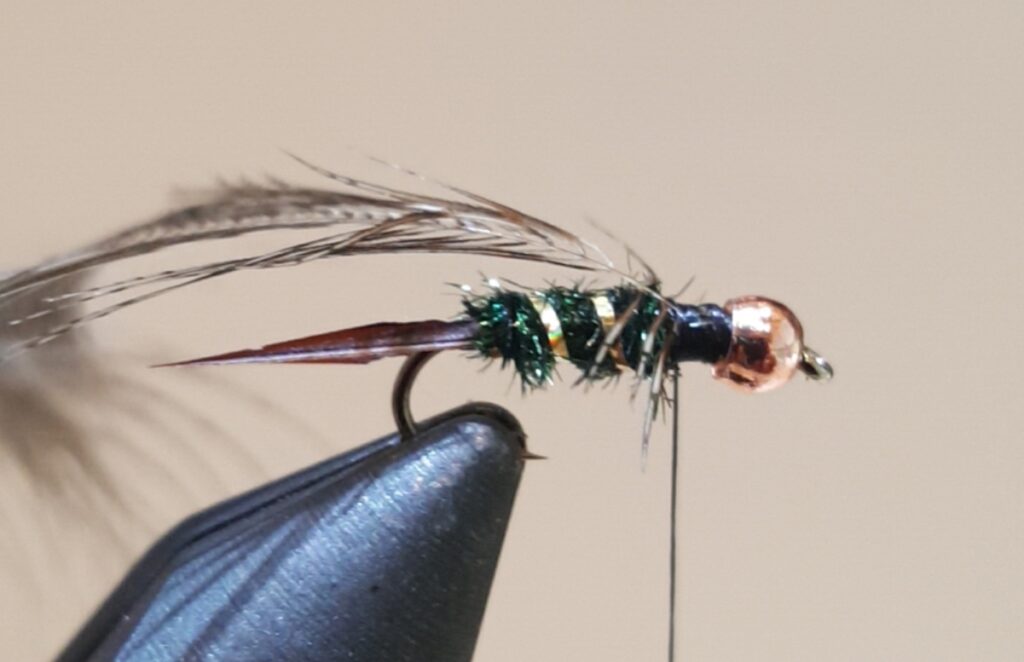
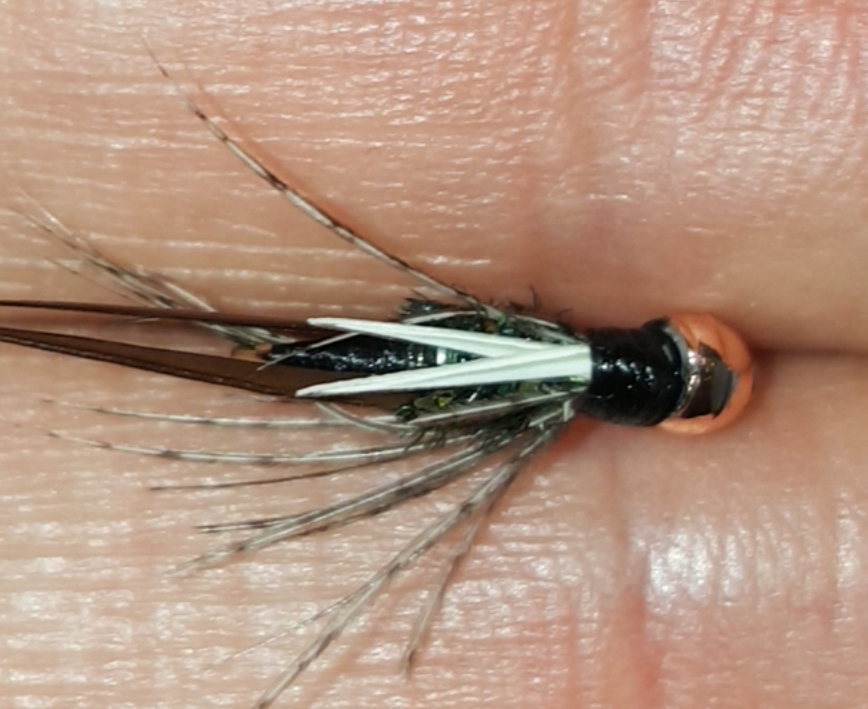
Once the stem is wrapped twice or maybe three times, use your dubbing needle to separate the fibers that are extending above the level of the hook shank into two portions (near side and far side). Brush those down so they point down-and-back on their respective sides, then hold them tightly in place with your off-hand, and wrap the base of the fibers well, so they are locked in roughly that position.
(Oh…my first one had a … problem … so this is now the imagery from the second I tied, going forward. Sorry. End credits won’t call them out by name or list either of them as any kind of ‘stunt double’, so don’t both to look).
If the fibers are a bit too long, trim the tips, as needed. I like the long trailing tips, personally. Not sure what the fish think, but I’m running with it.
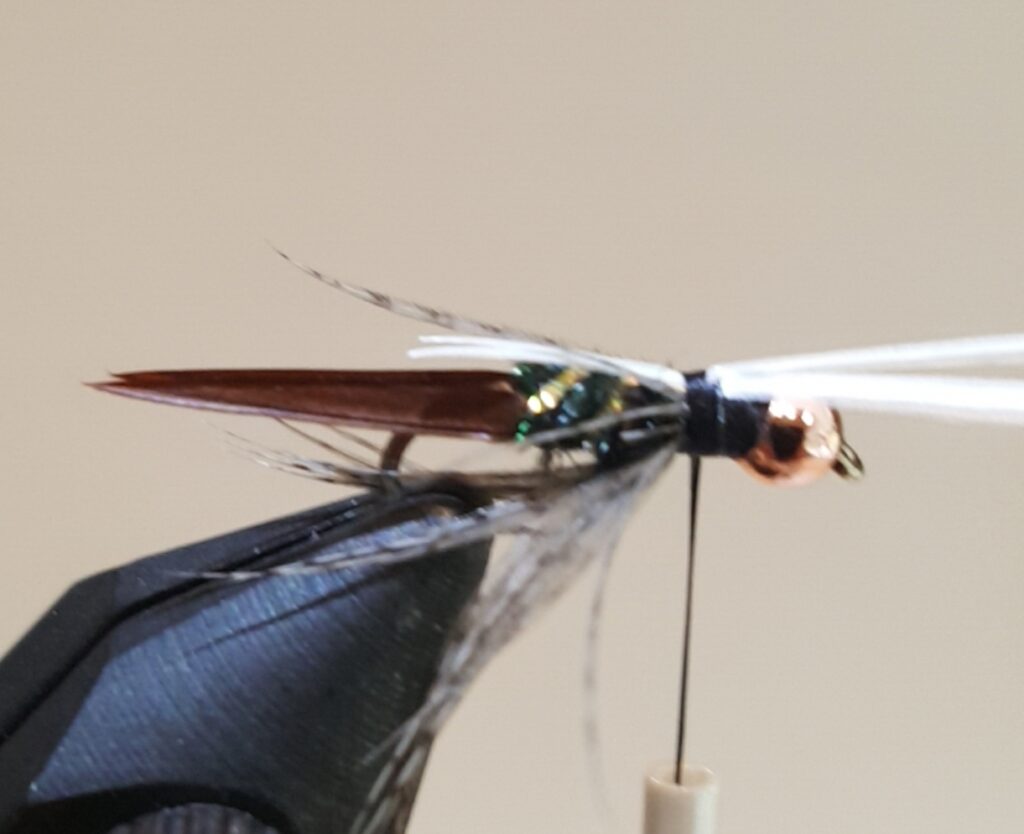
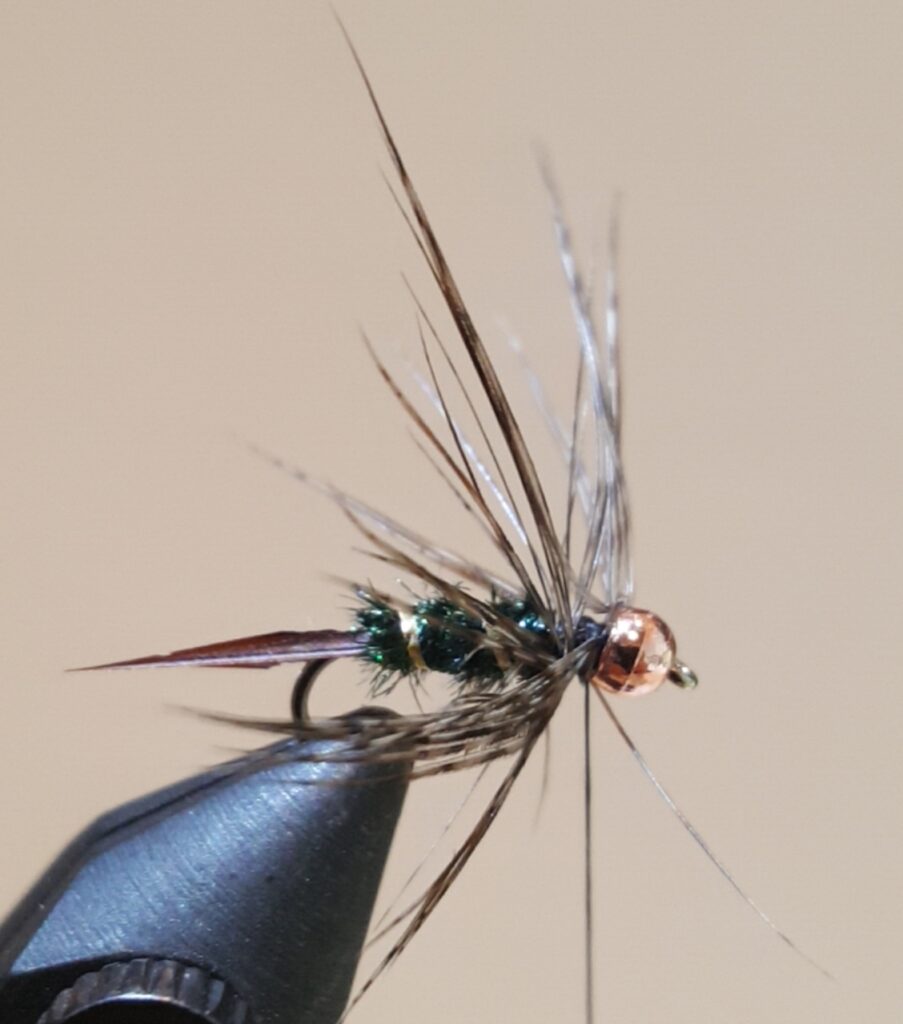
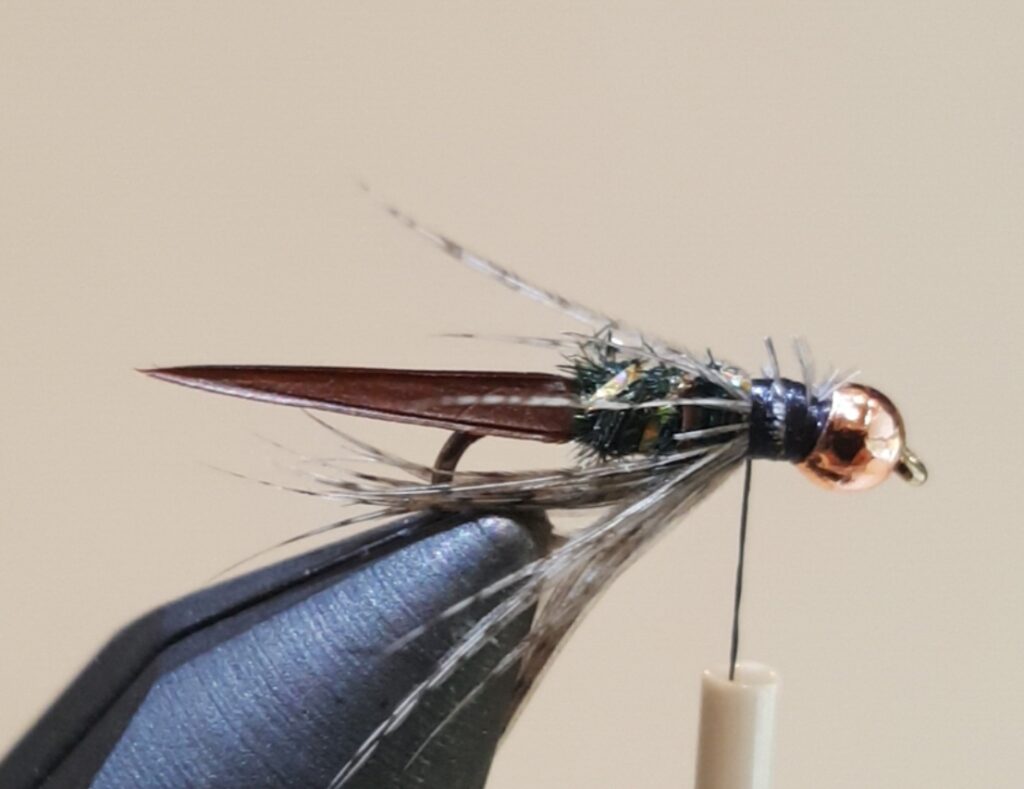
Take a pair of the lighter biots, and lay them on the back, one at a time. The tips should point towards the back, the two should come together at the tie-in point, and the very end of the tips should be roughly at the bend of the hook.
Wrap in place, trim the biot bases, then wrap a few more times to form a solid collar behind the bead. (See how the Partridge looks?)

So… we shall see if I can break free of my Dry Fly Addiction, and learn to nymph. I know, from numerous people, that they work quite well in conditions where dries just aren’t of interest to the trout, so expanding my available arsenal would be a great move.
Only time will tell, I suppose.
Tight lines, everyone…
There’s nothing wrong with a Dry Fly Addiction! I only start using nymphs when there are no rises or when the wind is too strong to cast. So are you using a bobber or are you Euro Nymphing?
I’ve carried a package of poly strike indicators for years. Probably go with those, and resist the urge to rig up a dry dropper under a large Stimmy…because I’m sure to tangle that, the first few times (at least).